Creating a Post
Ready to share your latest insights or recipes? This guide will help you create and publish a new post on our blogging platform in just a few simple steps.
Step 1: Select the Hero Section
The Hero section is the first thing readers see when they open your post. It includes a captivating image and a summary that introduces your content.
To set up the Hero section:
- Choose an Image:
- Select your hero image type can choose from:
- 3 Column Images: Three images displayed side by side.
- Portrait Image: A vertically oriented image.
- Landscape Image: A horizontally oriented image.
- Click on the upload button or select from the existing images.
- Select an image from your computer.
- Write a Summary:
- In the Summary field, write a brief introduction to your post.
- Aim for a few sentences that grab the reader's attention.
- Name
Hero Image- Type
- image
- Description
The main image that represents your post.
- Name
Summary- Type
- string
- Description
A brief introduction displayed below the Hero image.
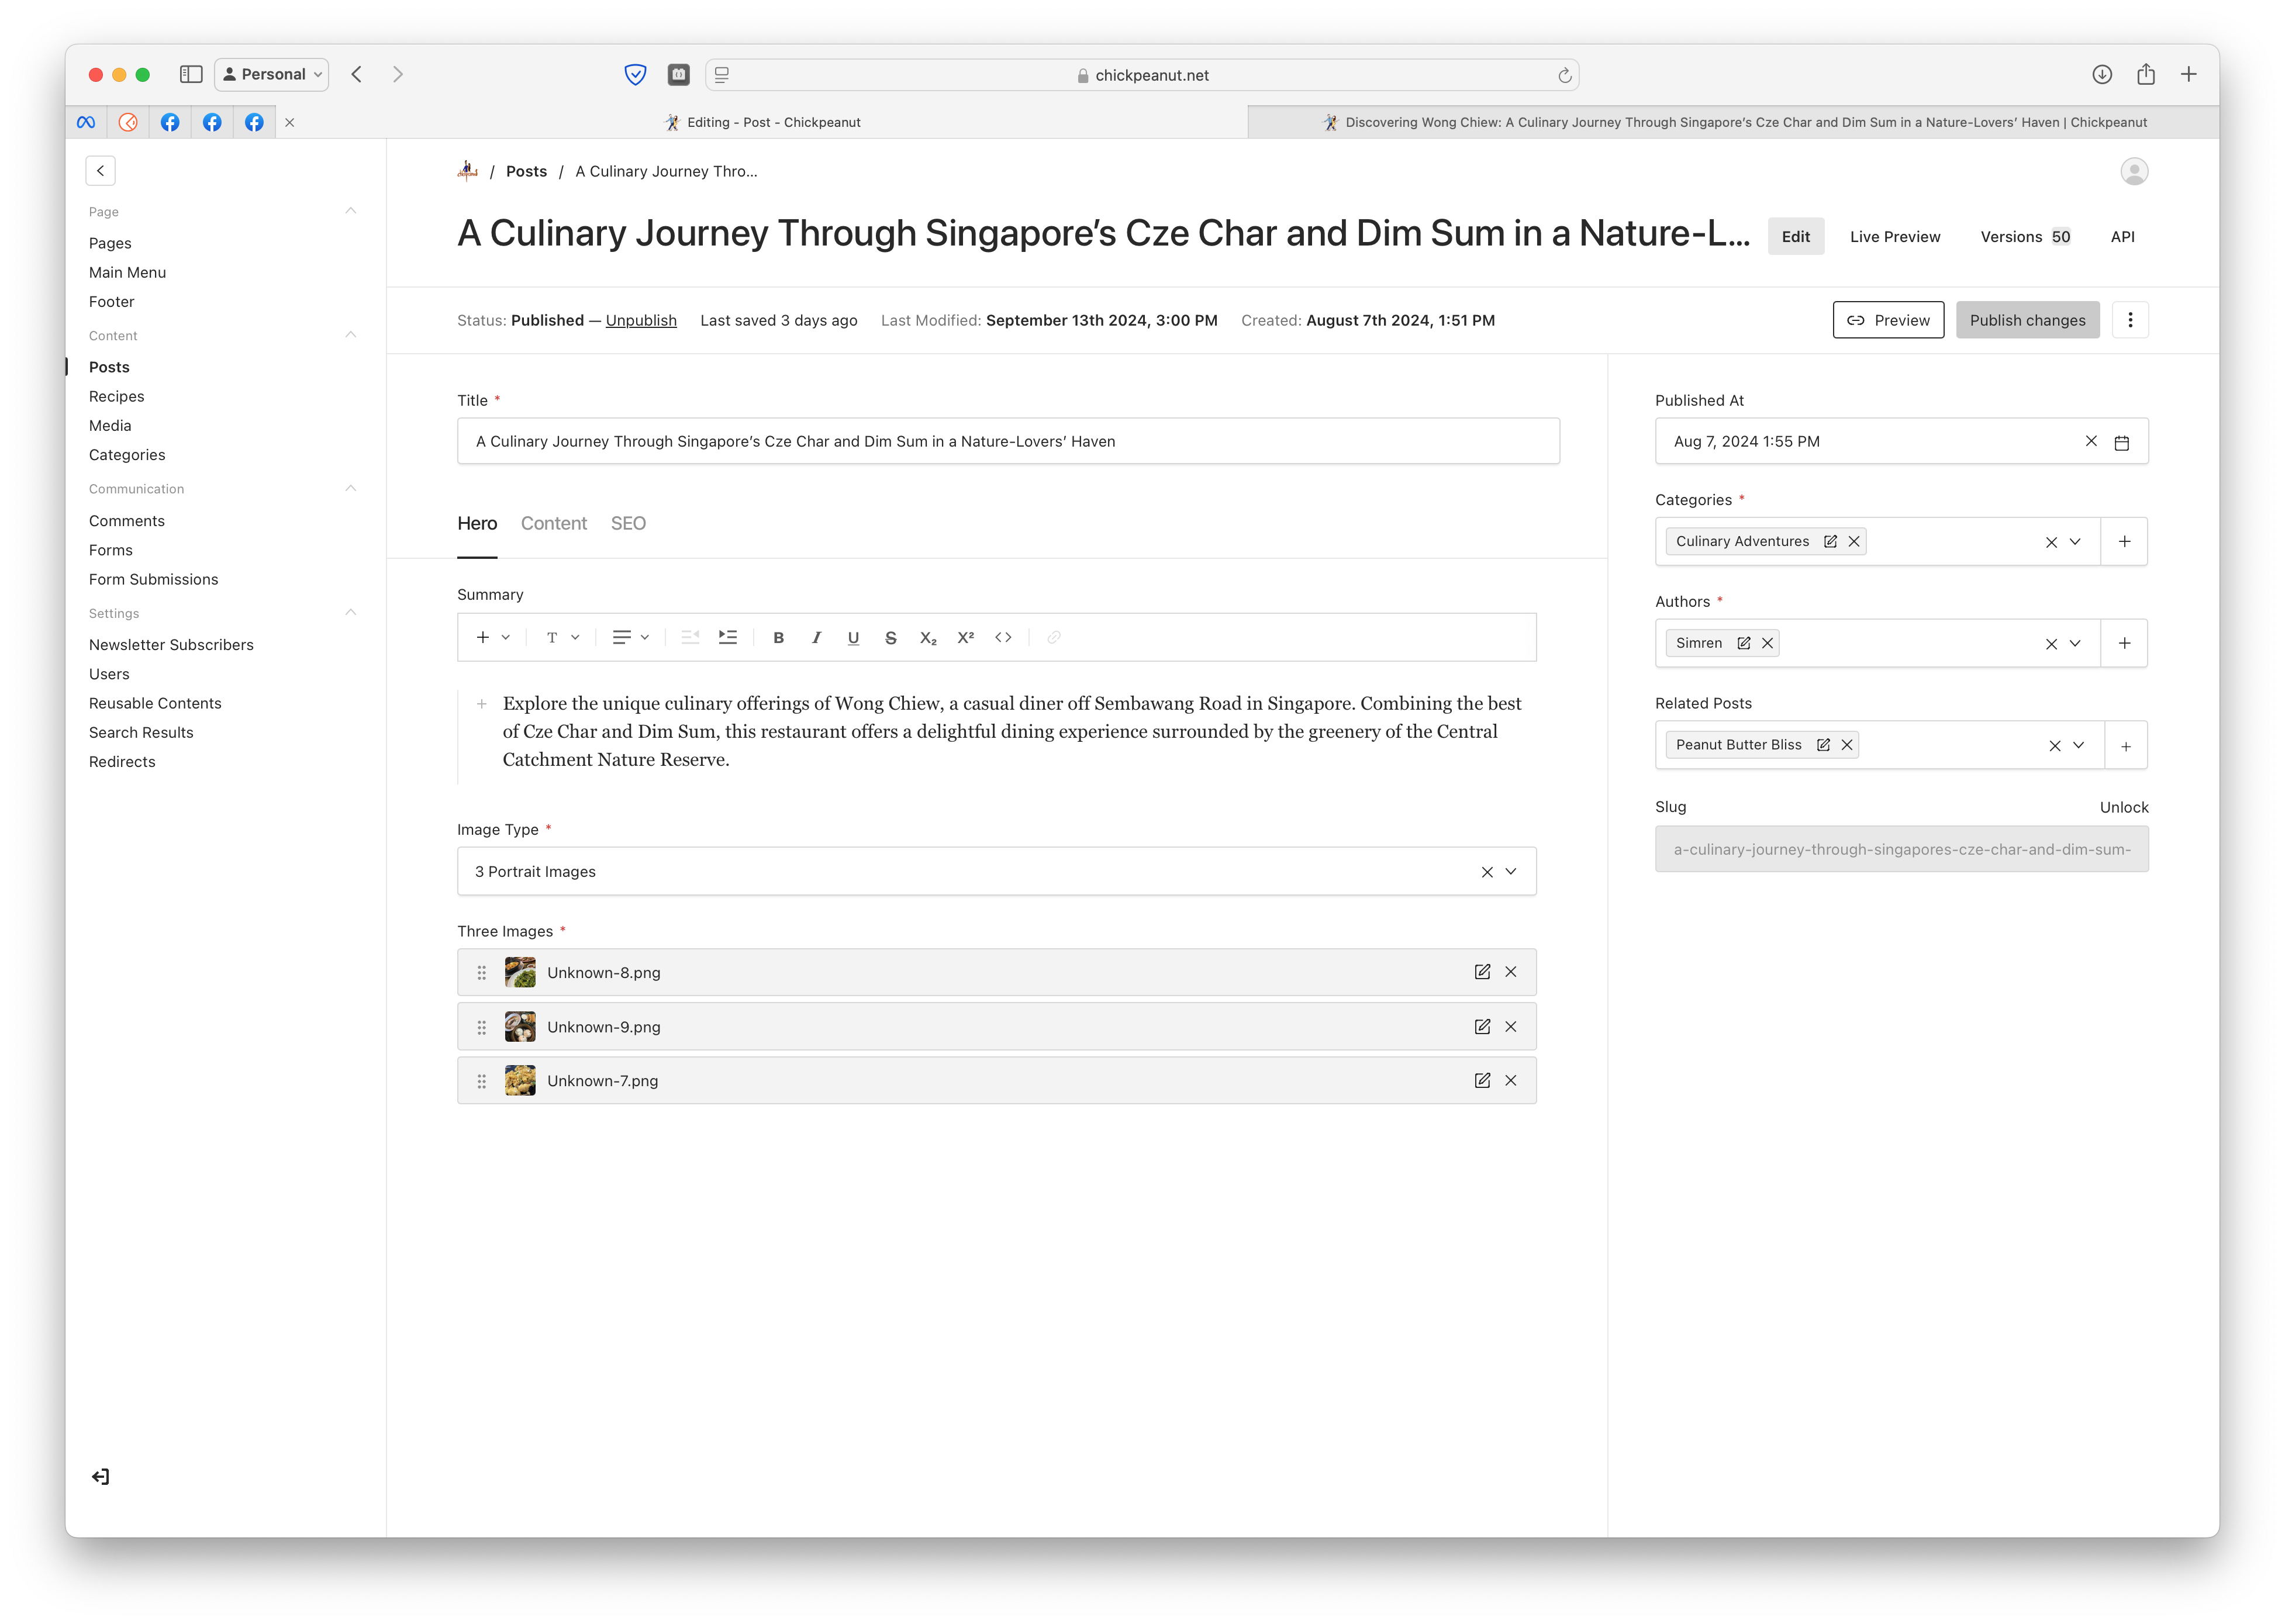
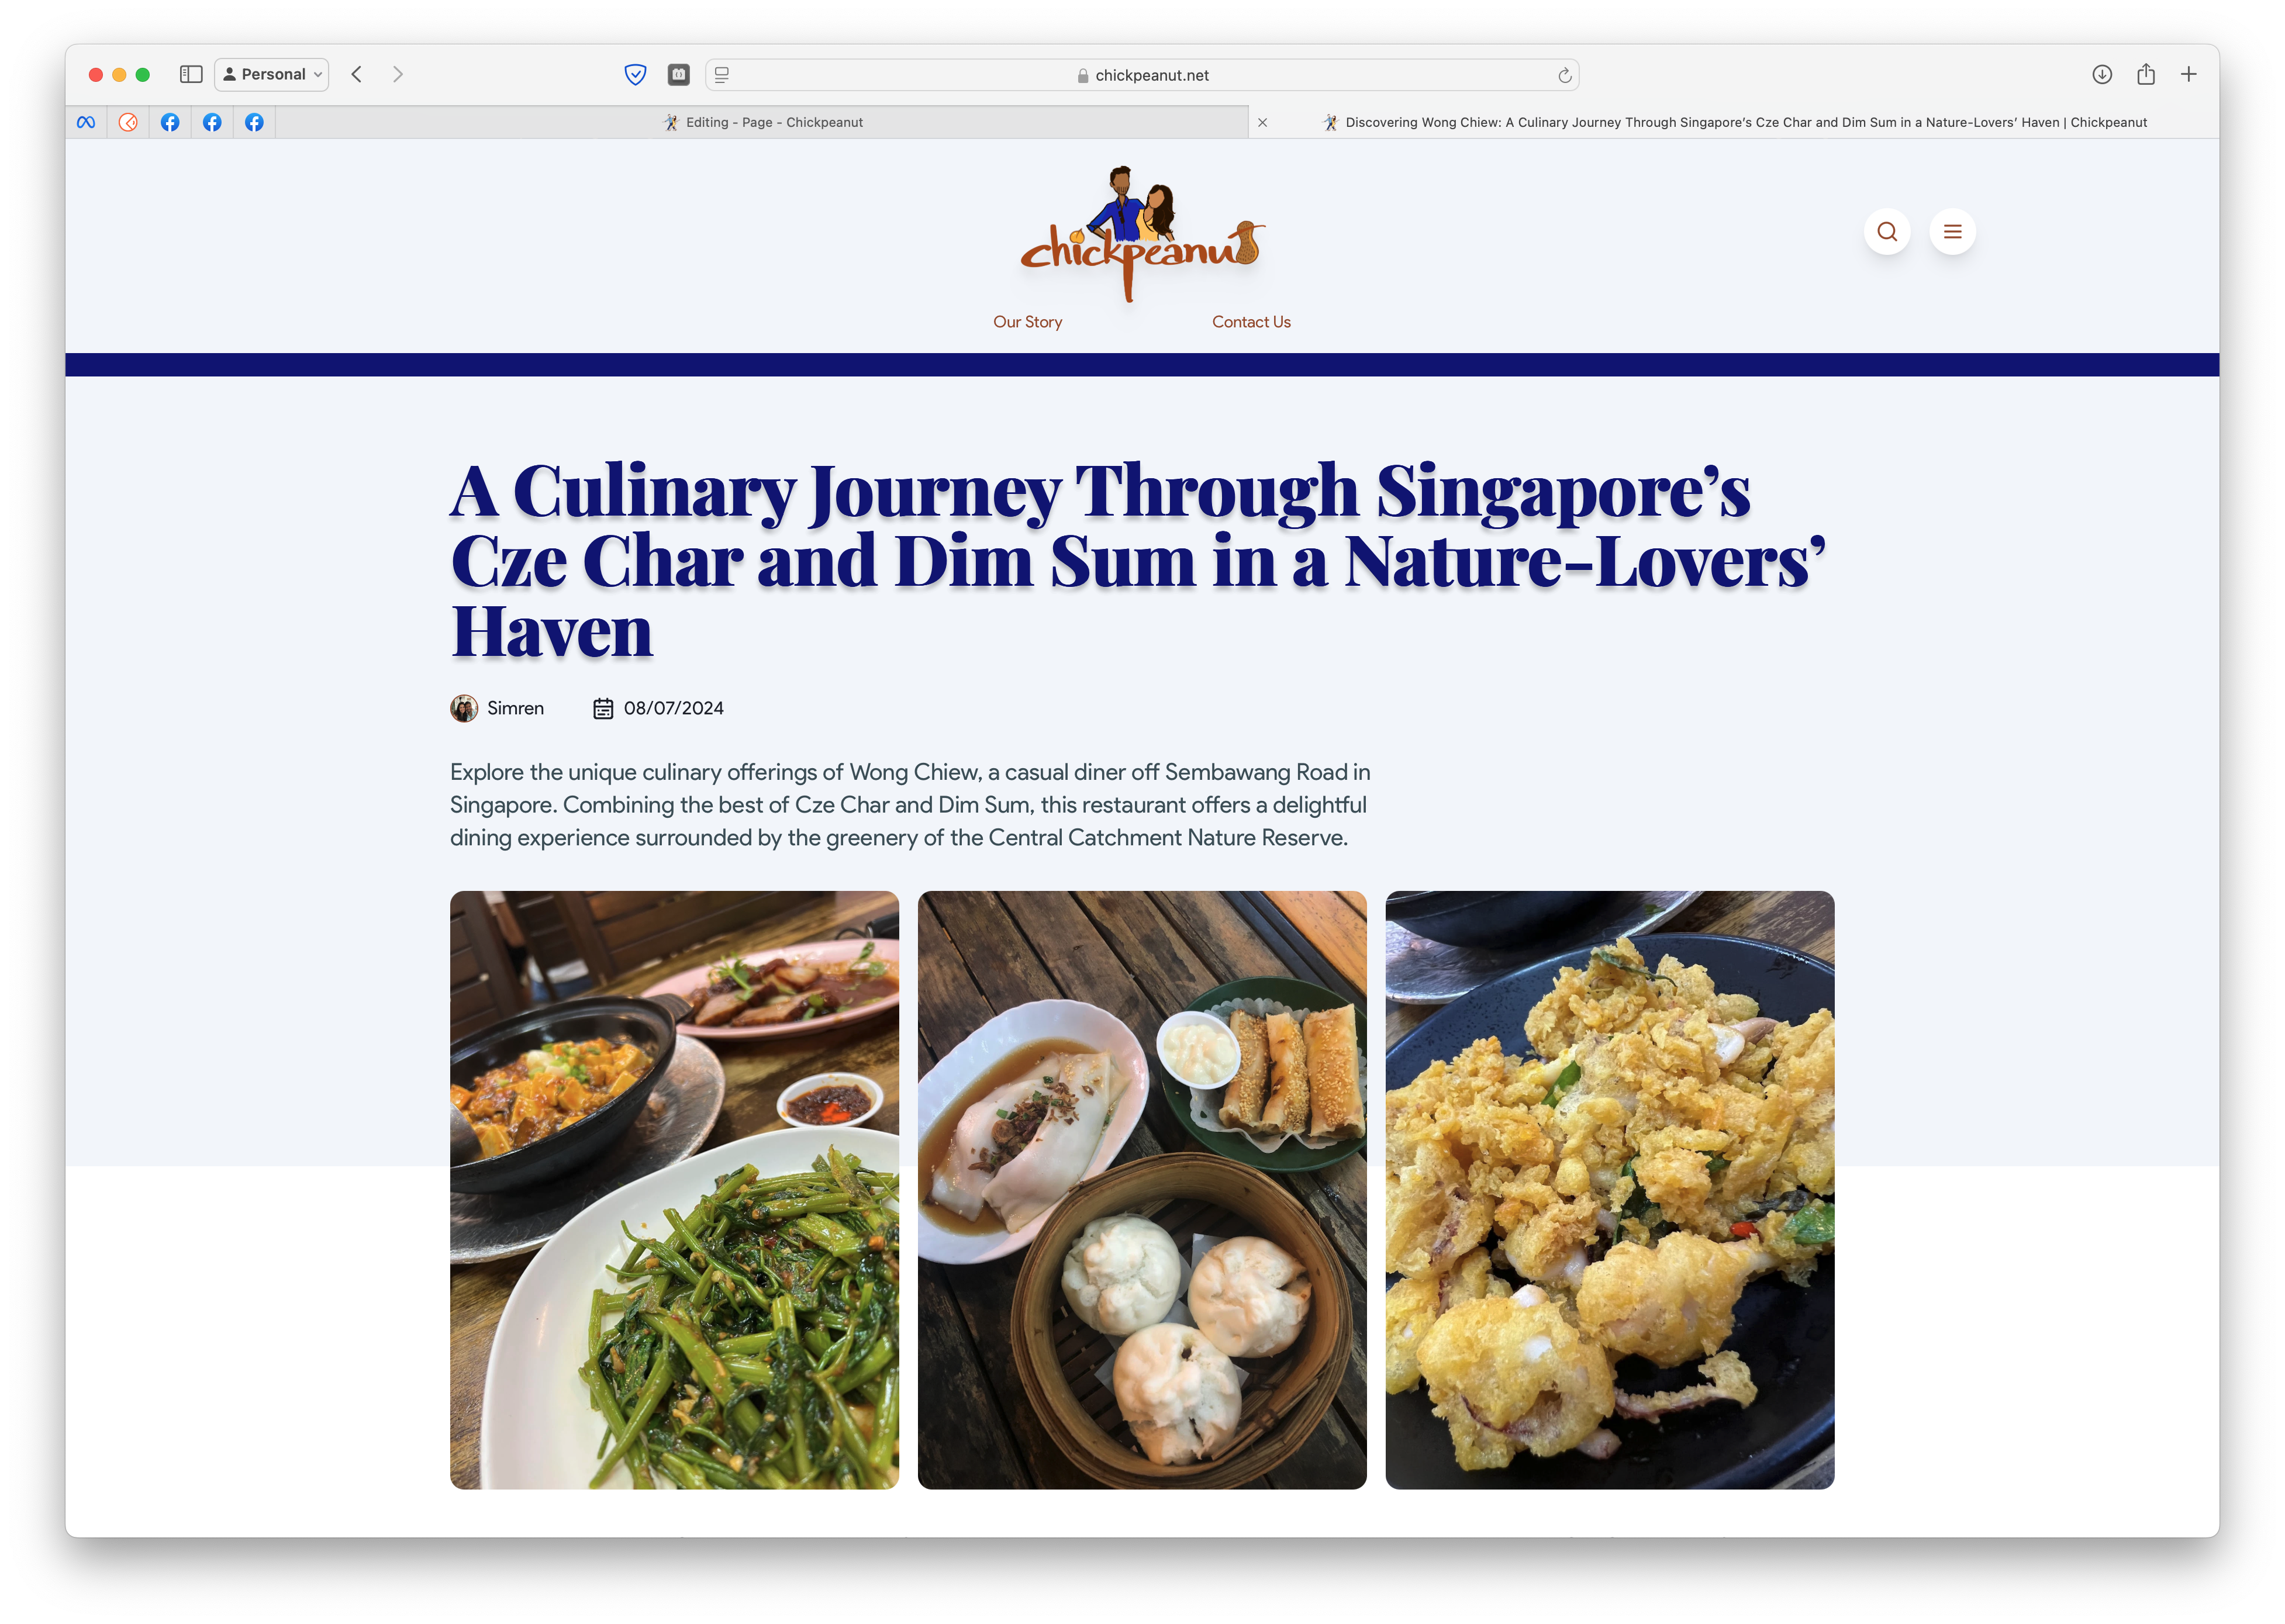
Three Column Hero
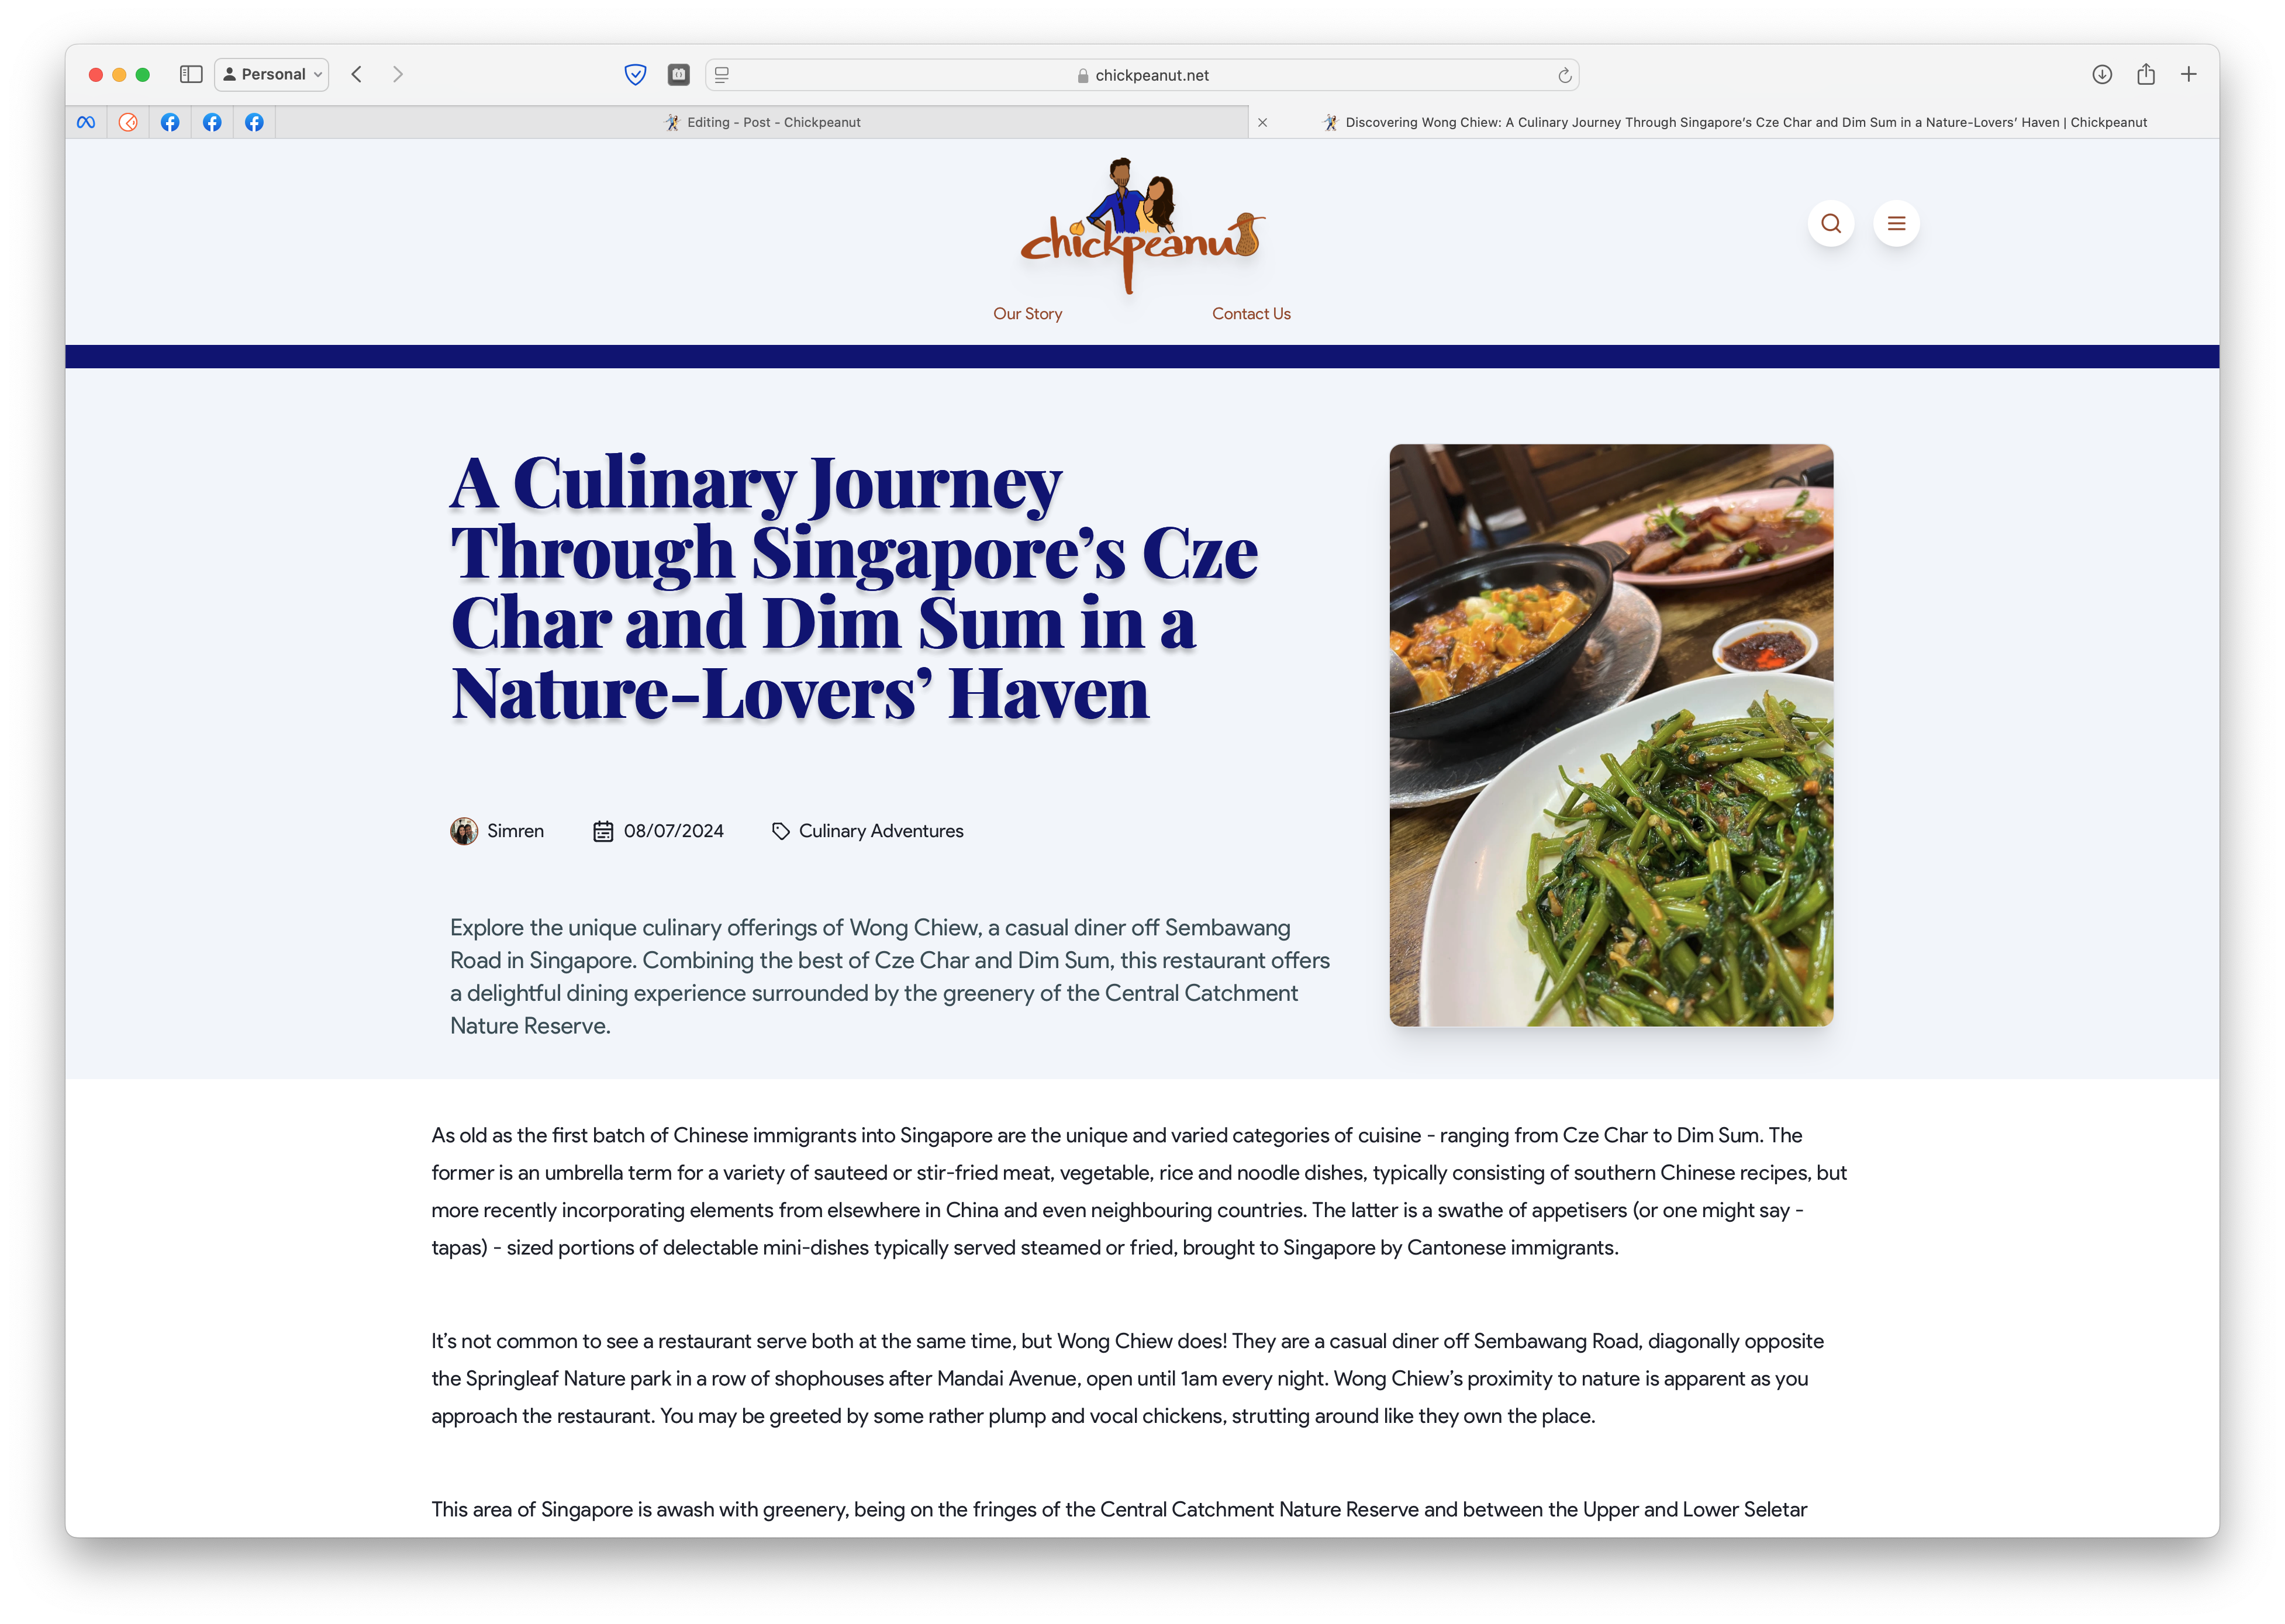
Portrait Hero
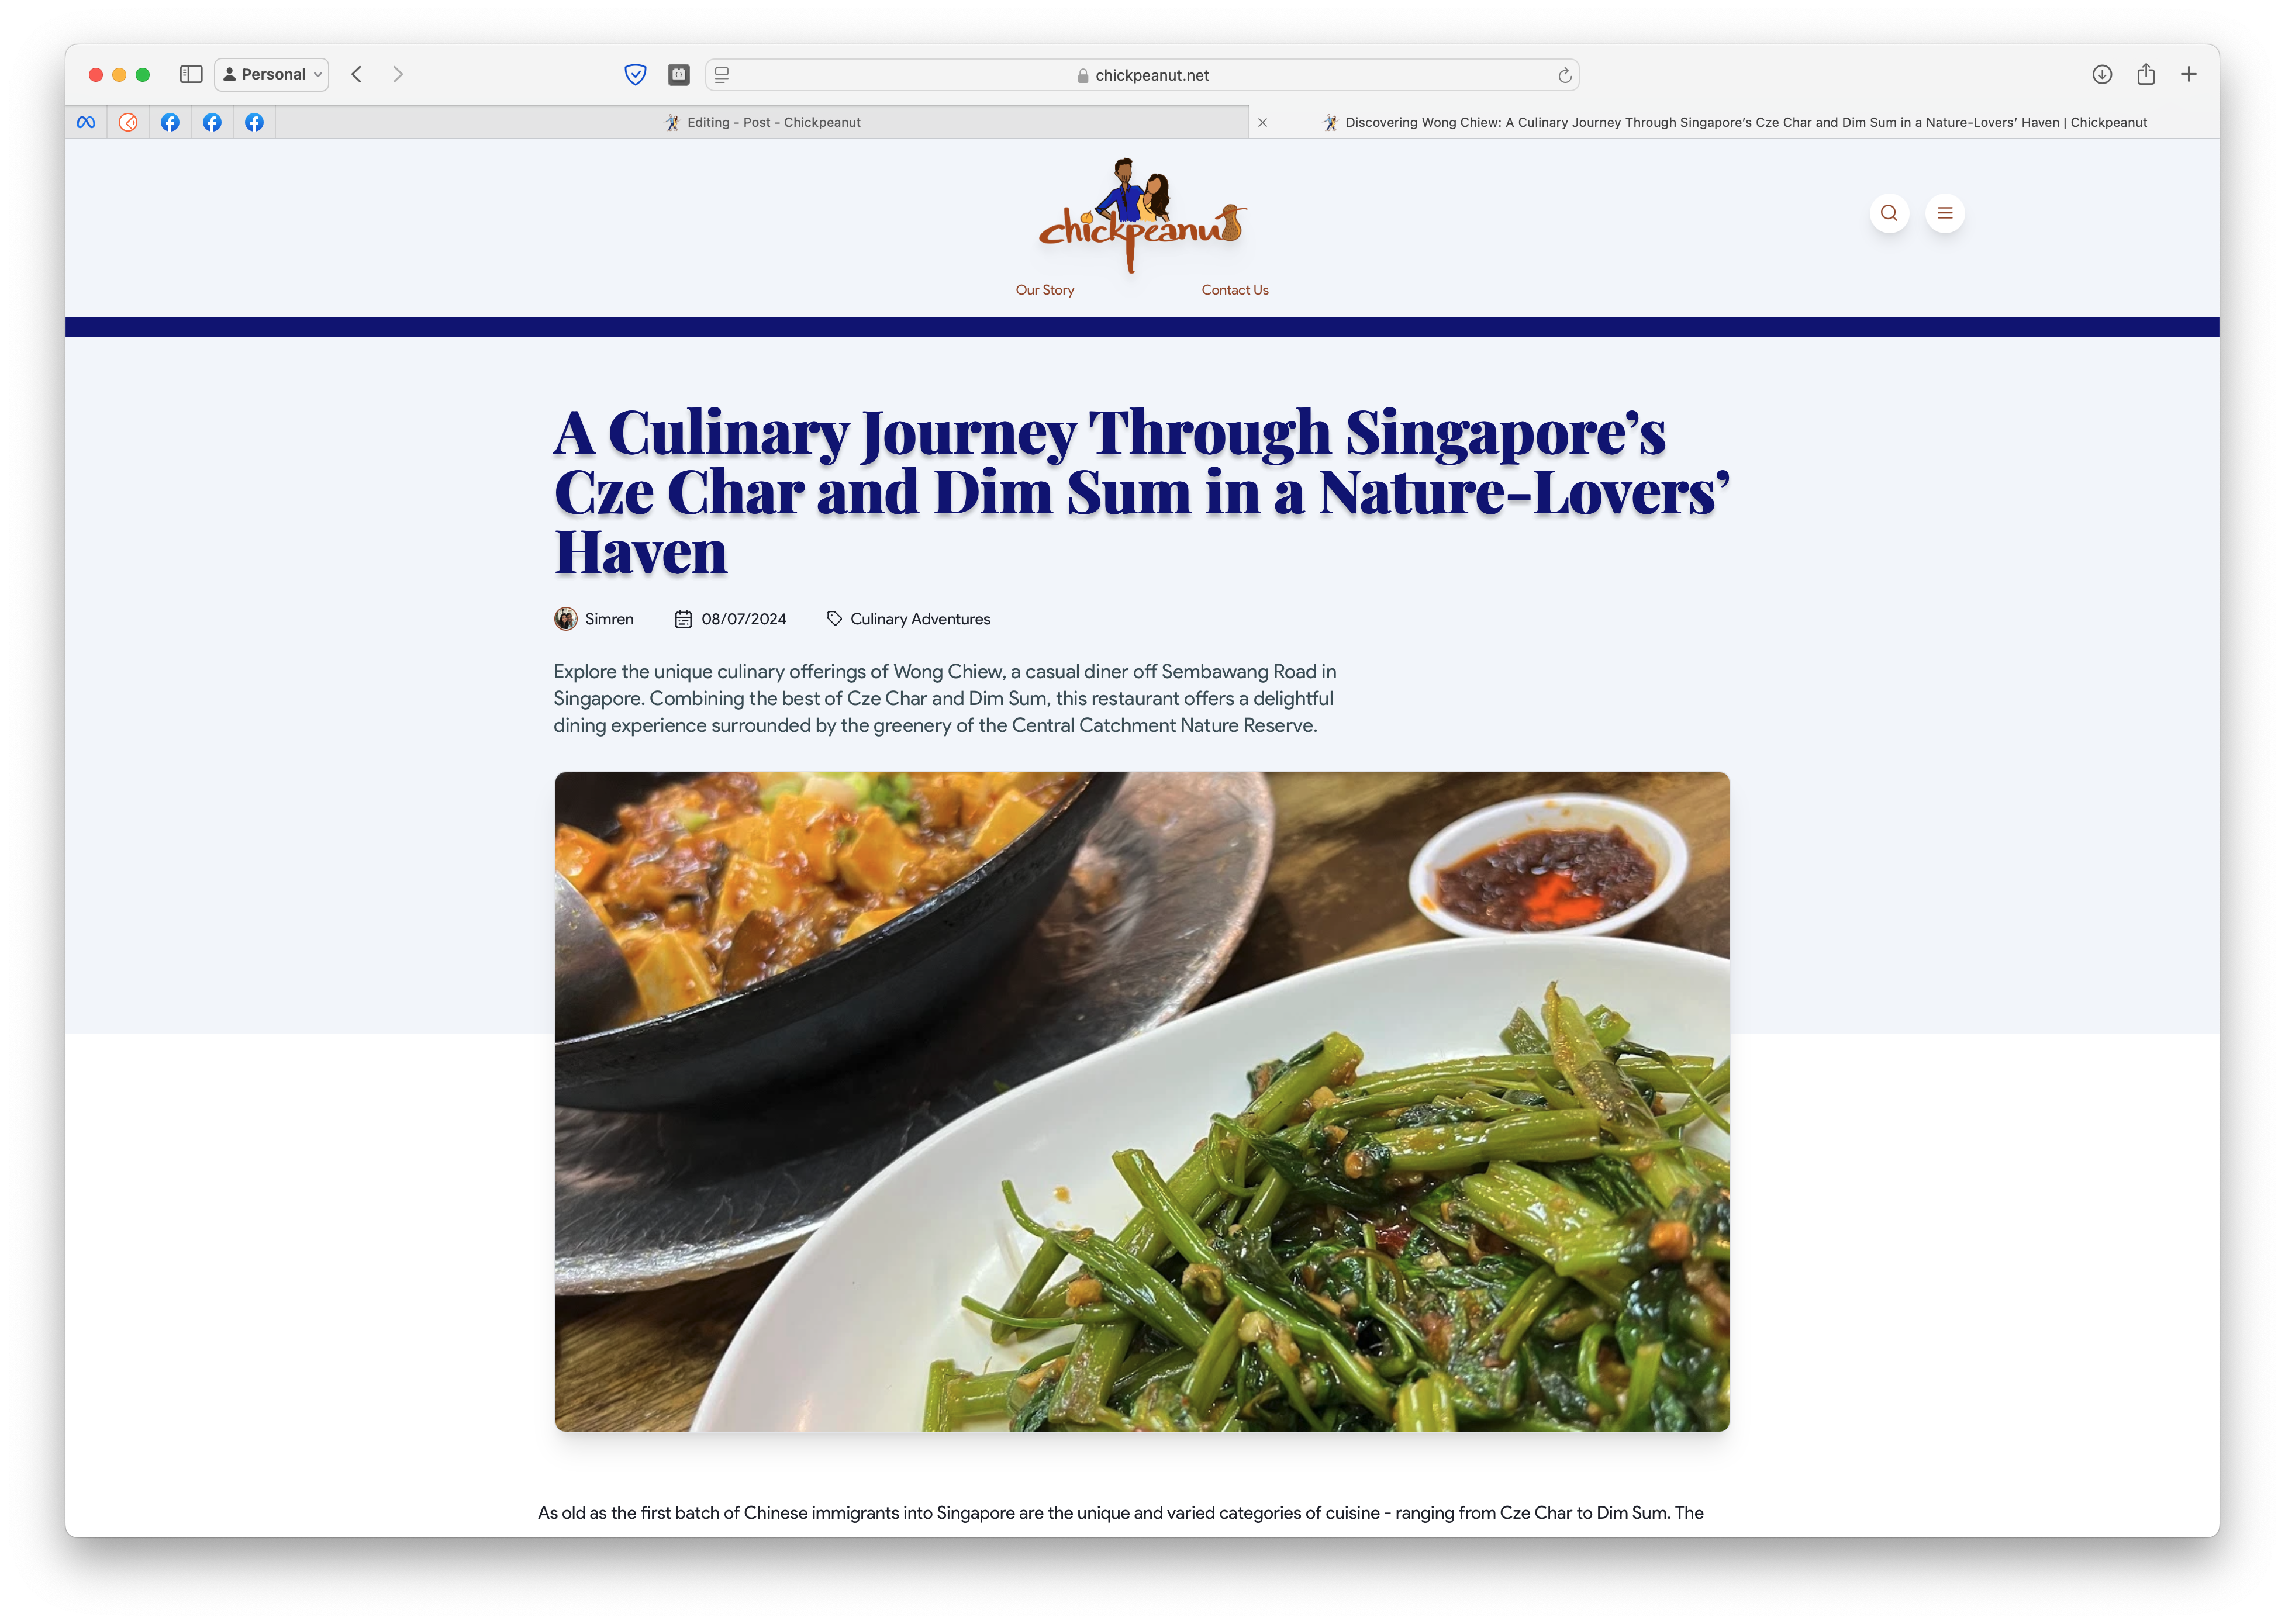
Landscape Hero
Step 2: Enter Your Content
Now it's time to add the main content of your post.
Using the Editor:
- Typing and Formatting:
- Simply start typing in the editor.
- Use standard formatting tools for bold, italics, headings, and lists.
- Adding Blocks:
- Type
/to open the block insertion menu. - You can add special blocks such as:
- MediaContent: Place images and text side by side.
- MediaBlock: Add full-width images or videos.
- CTA (Call to Action): Insert a prompt with a link button.
- Quote: Add a quote from someone else.
- Type
- For a comprehensive guide on all available blocks and their usage, visit our Understanding Page Blocks page.
Adding a Block via Keyboard Shortcut
# Type '/' in the editor to open the block menu
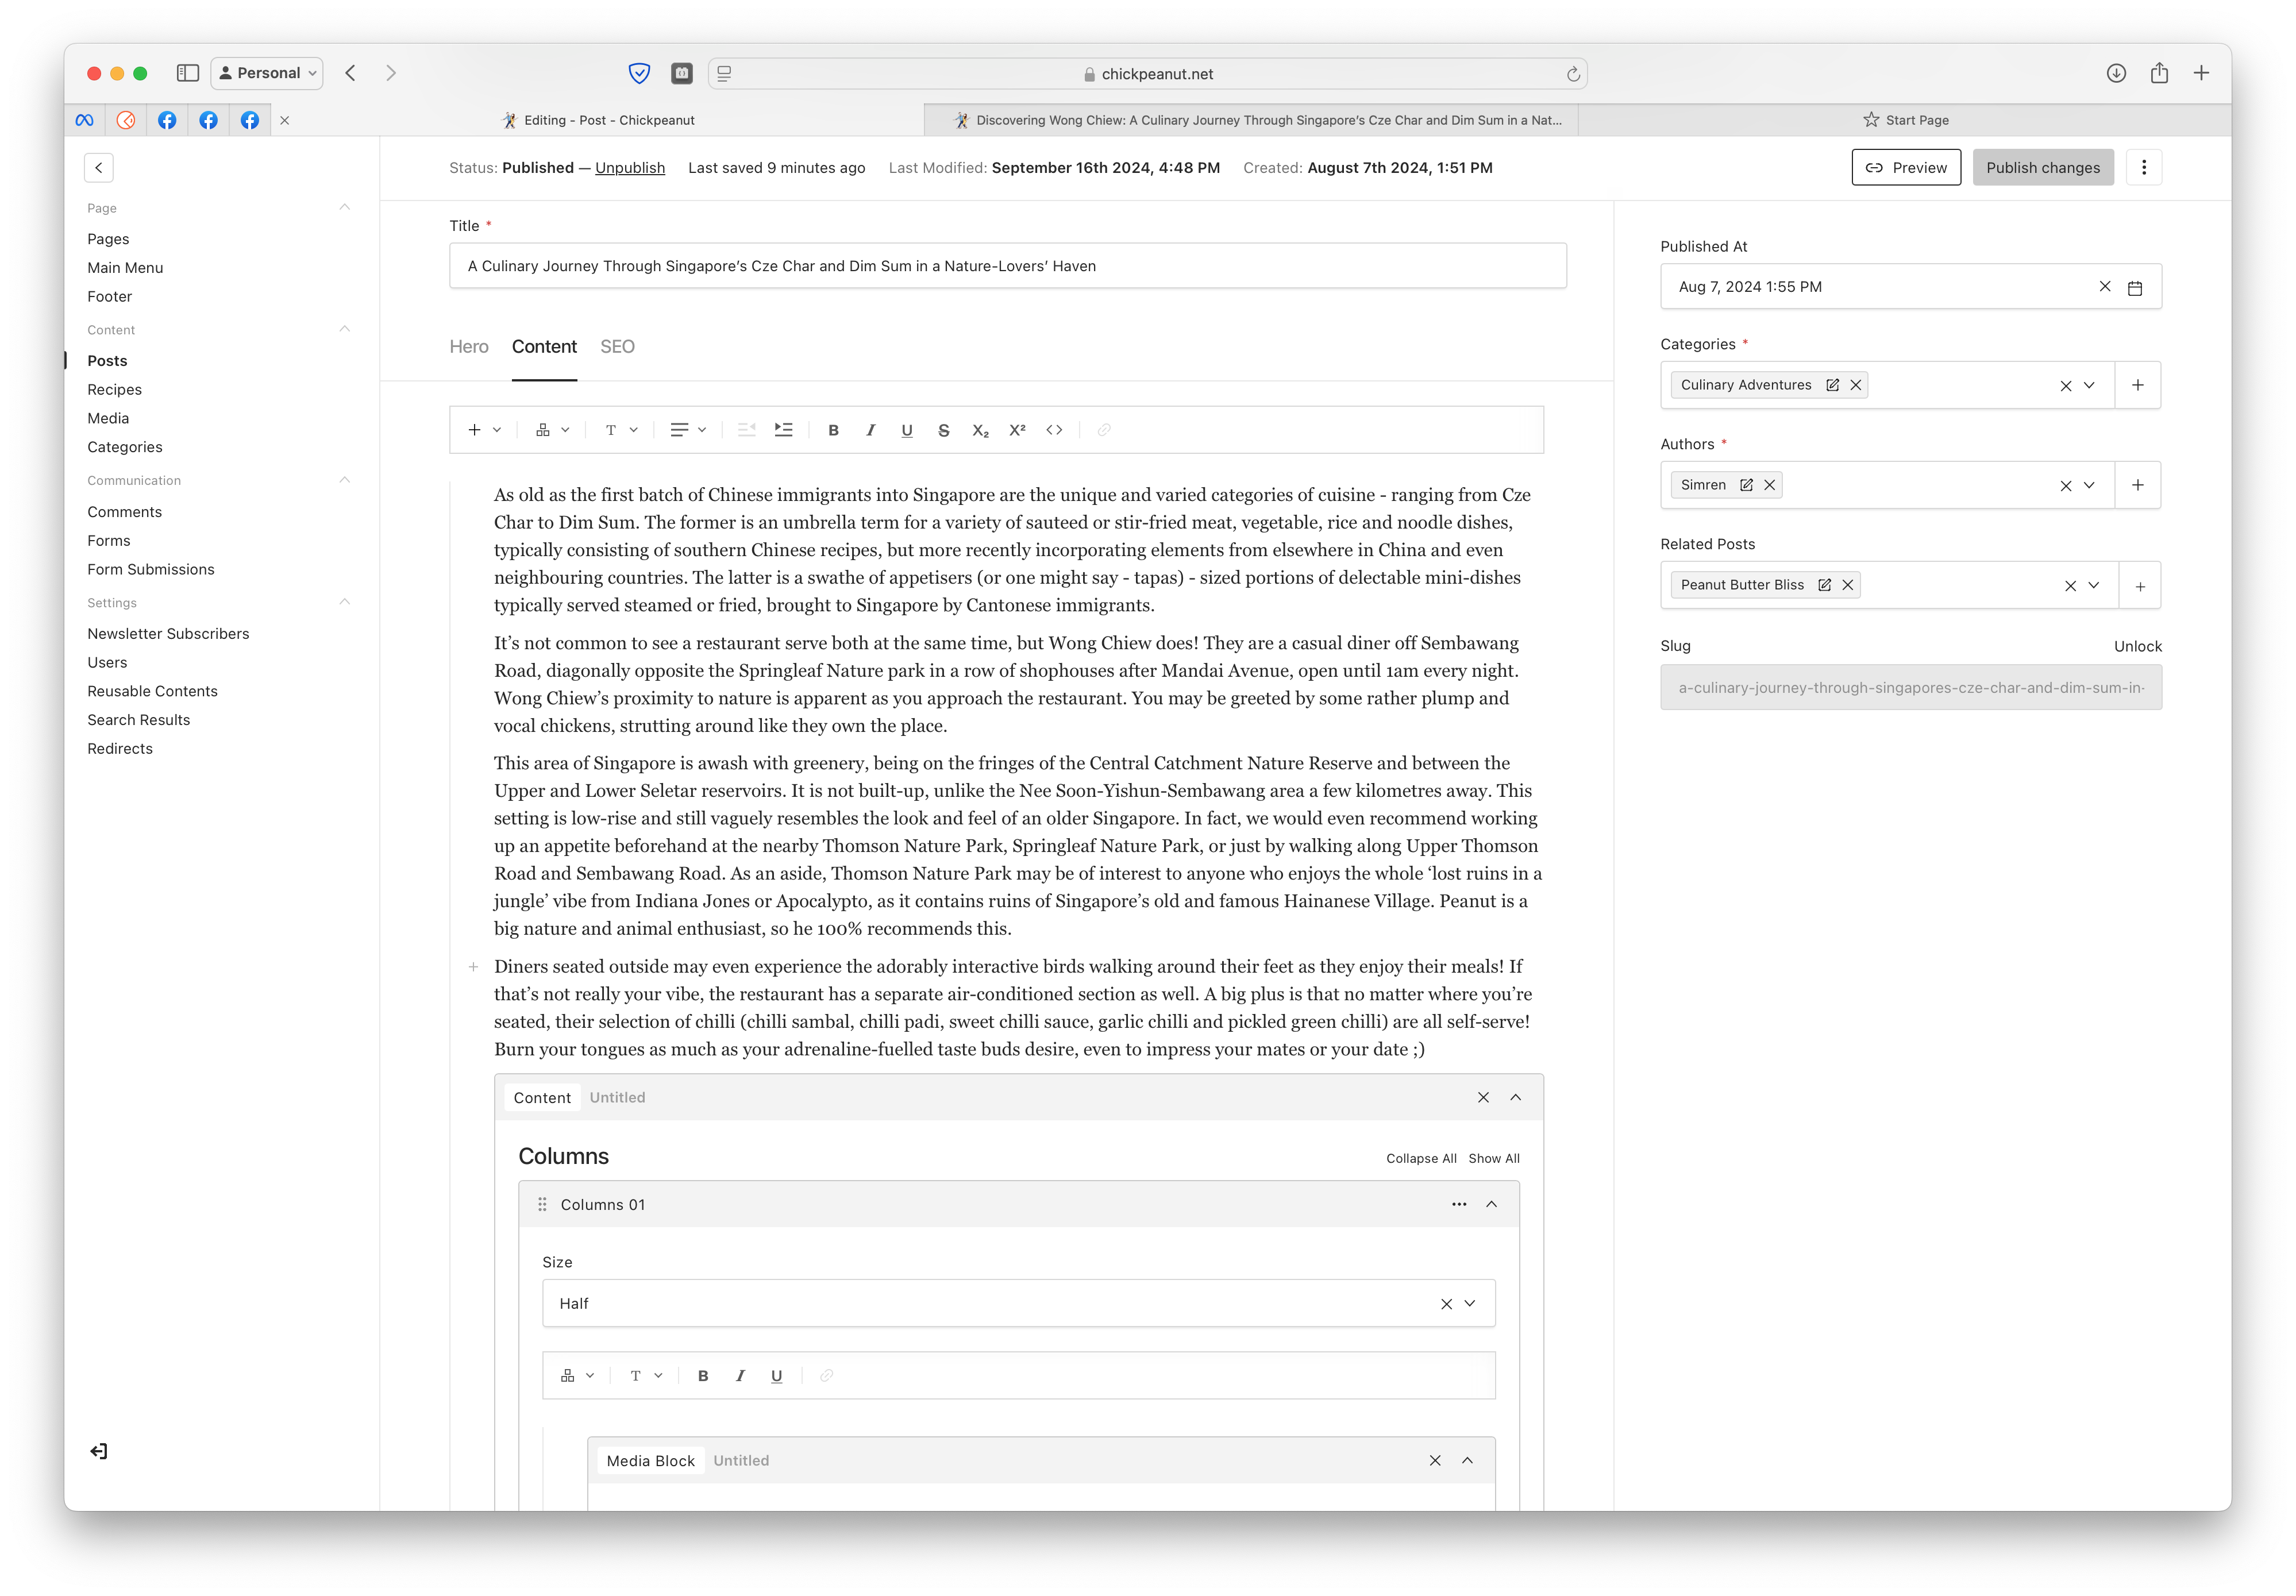
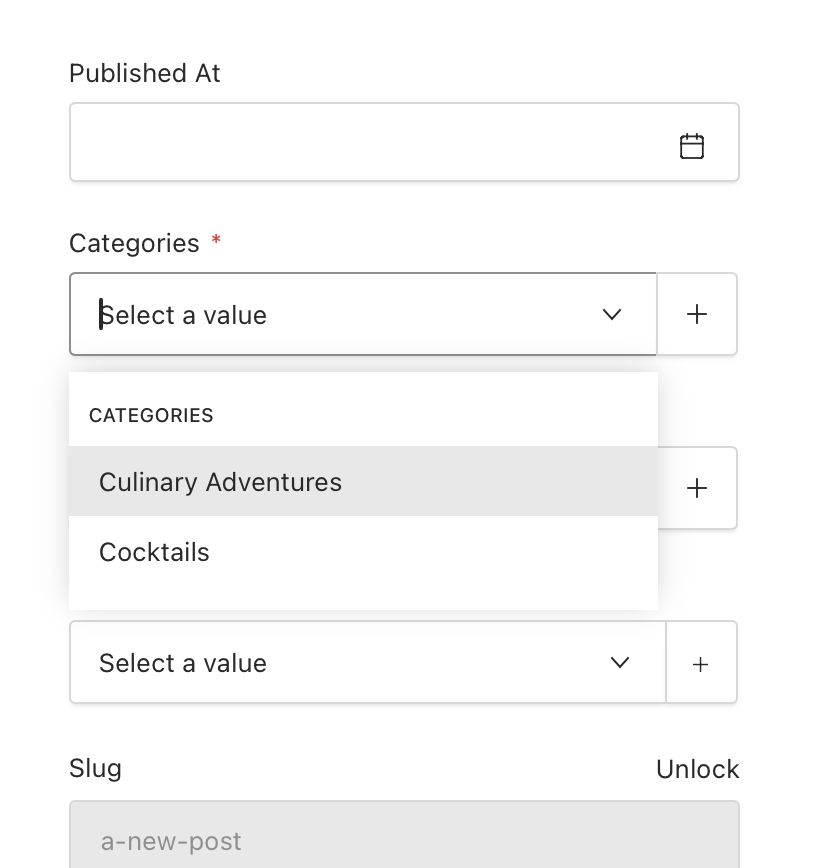
Step 3: Select the Category
Assigning a category to your post helps readers find it more easily.
To select a category:
- Scroll to the Category section on the sidebar to the right.
- Choose an existing category from the dropdown menu.
- Or, click + to create a new one.
- Name
Category- Type
- string
- Description
The topic area your post belongs to.
Publishing Your Post
Once you've completed the three steps:
-
Review Your Post:
- Use the Preview function to see how your post will look.
- Check for any typos or formatting issues.
-
Set SEO Options (Optional):
- Navigate to the SEO section.
- The title, description, and image are auto-filled.
- You can customize these fields for better search engine visibility.
- Name
SEO Title- Type
- string
- Description
The title that appears in search engine results.
- Name
SEO Description- Type
- string
- Description
A brief description for search engines.
- Name
SEO Image- Type
- image
- Description
The image displayed when your post is shared.
Optimizing SEO fields can help attract more readers to your post.
-
Publish:
- Click the Publish button at the top right corner.
- Choose to publish immediately or schedule for later.
Tips for Creating Engaging Posts
- Use High-Quality Images: Attractive visuals can draw in readers.
- Write a Compelling Summary: Encourage readers to continue by teasing the content.
- Engage with Blocks: Utilize MediaContent and CTAs to enhance your post.
- Categorize Appropriately: Help your audience find your content.
If you have any questions or need assistance, please visit our Help Center or contact our support team.