Creating a Category
Organizing your content is essential for helping readers discover your posts and recipes. By creating categories, you can group related content together, making navigation easier for your audience. This guide will walk you through creating a new category and optimizing it with SEO fields.
Step 1: Access the Categories Section
To begin creating a new category:
- Navigate to Your Dashboard: Log in to your account and go to the dashboard.
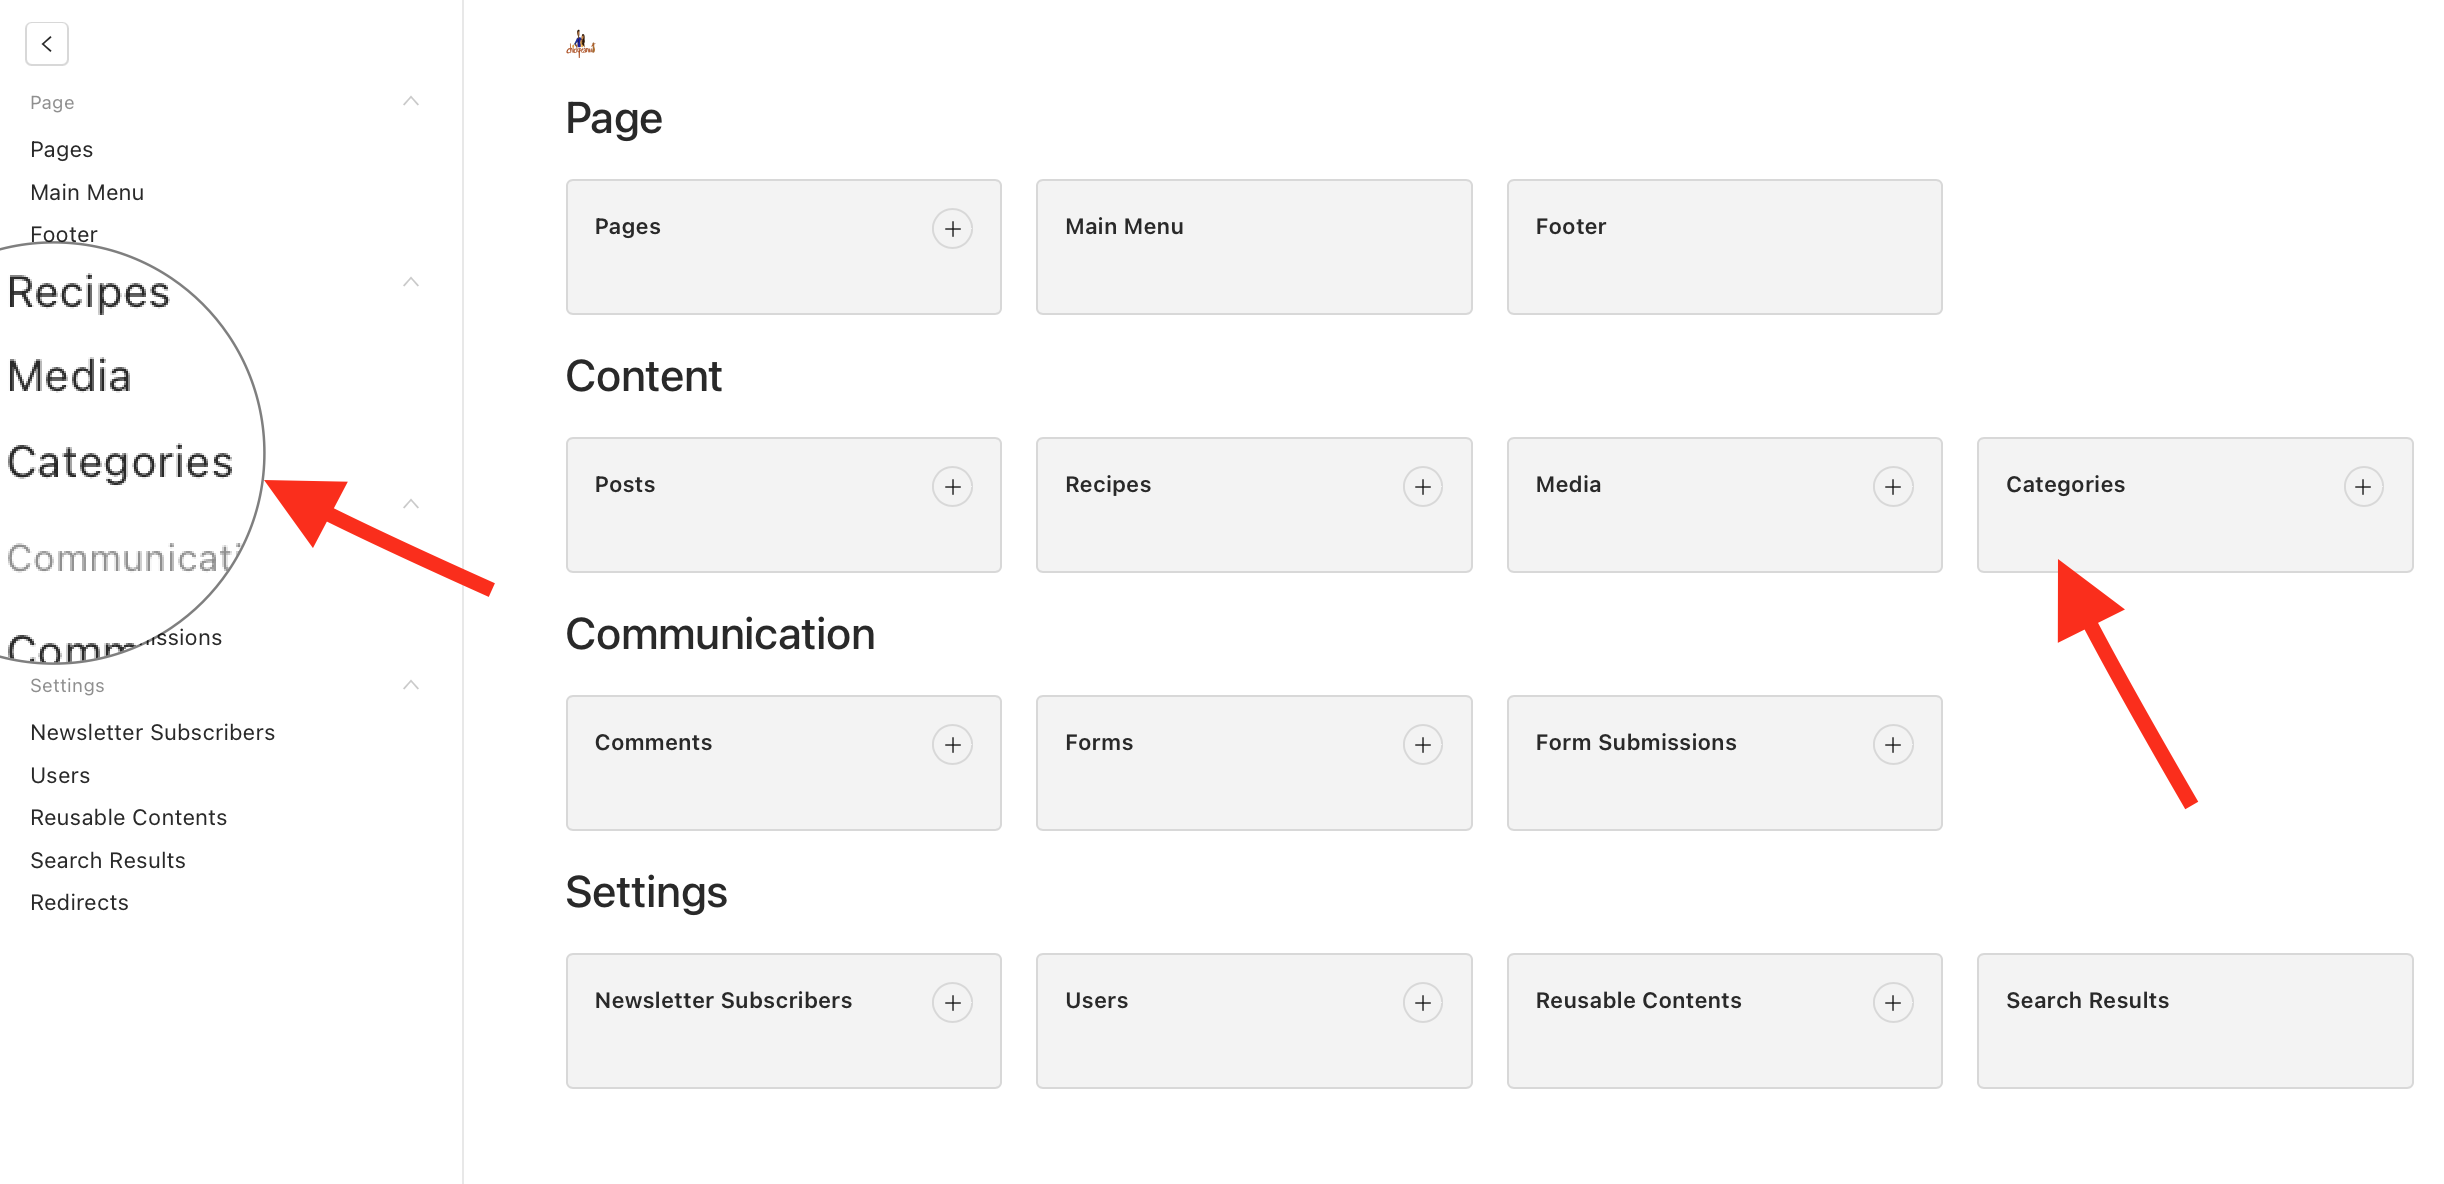
- Select "Categories": In the sidebar menu, click on Categories under the Content Management section.
Step 2: Create a New Category
Once in the Categories section:
- Click on "Create New": This button is typically located at the top right corner.
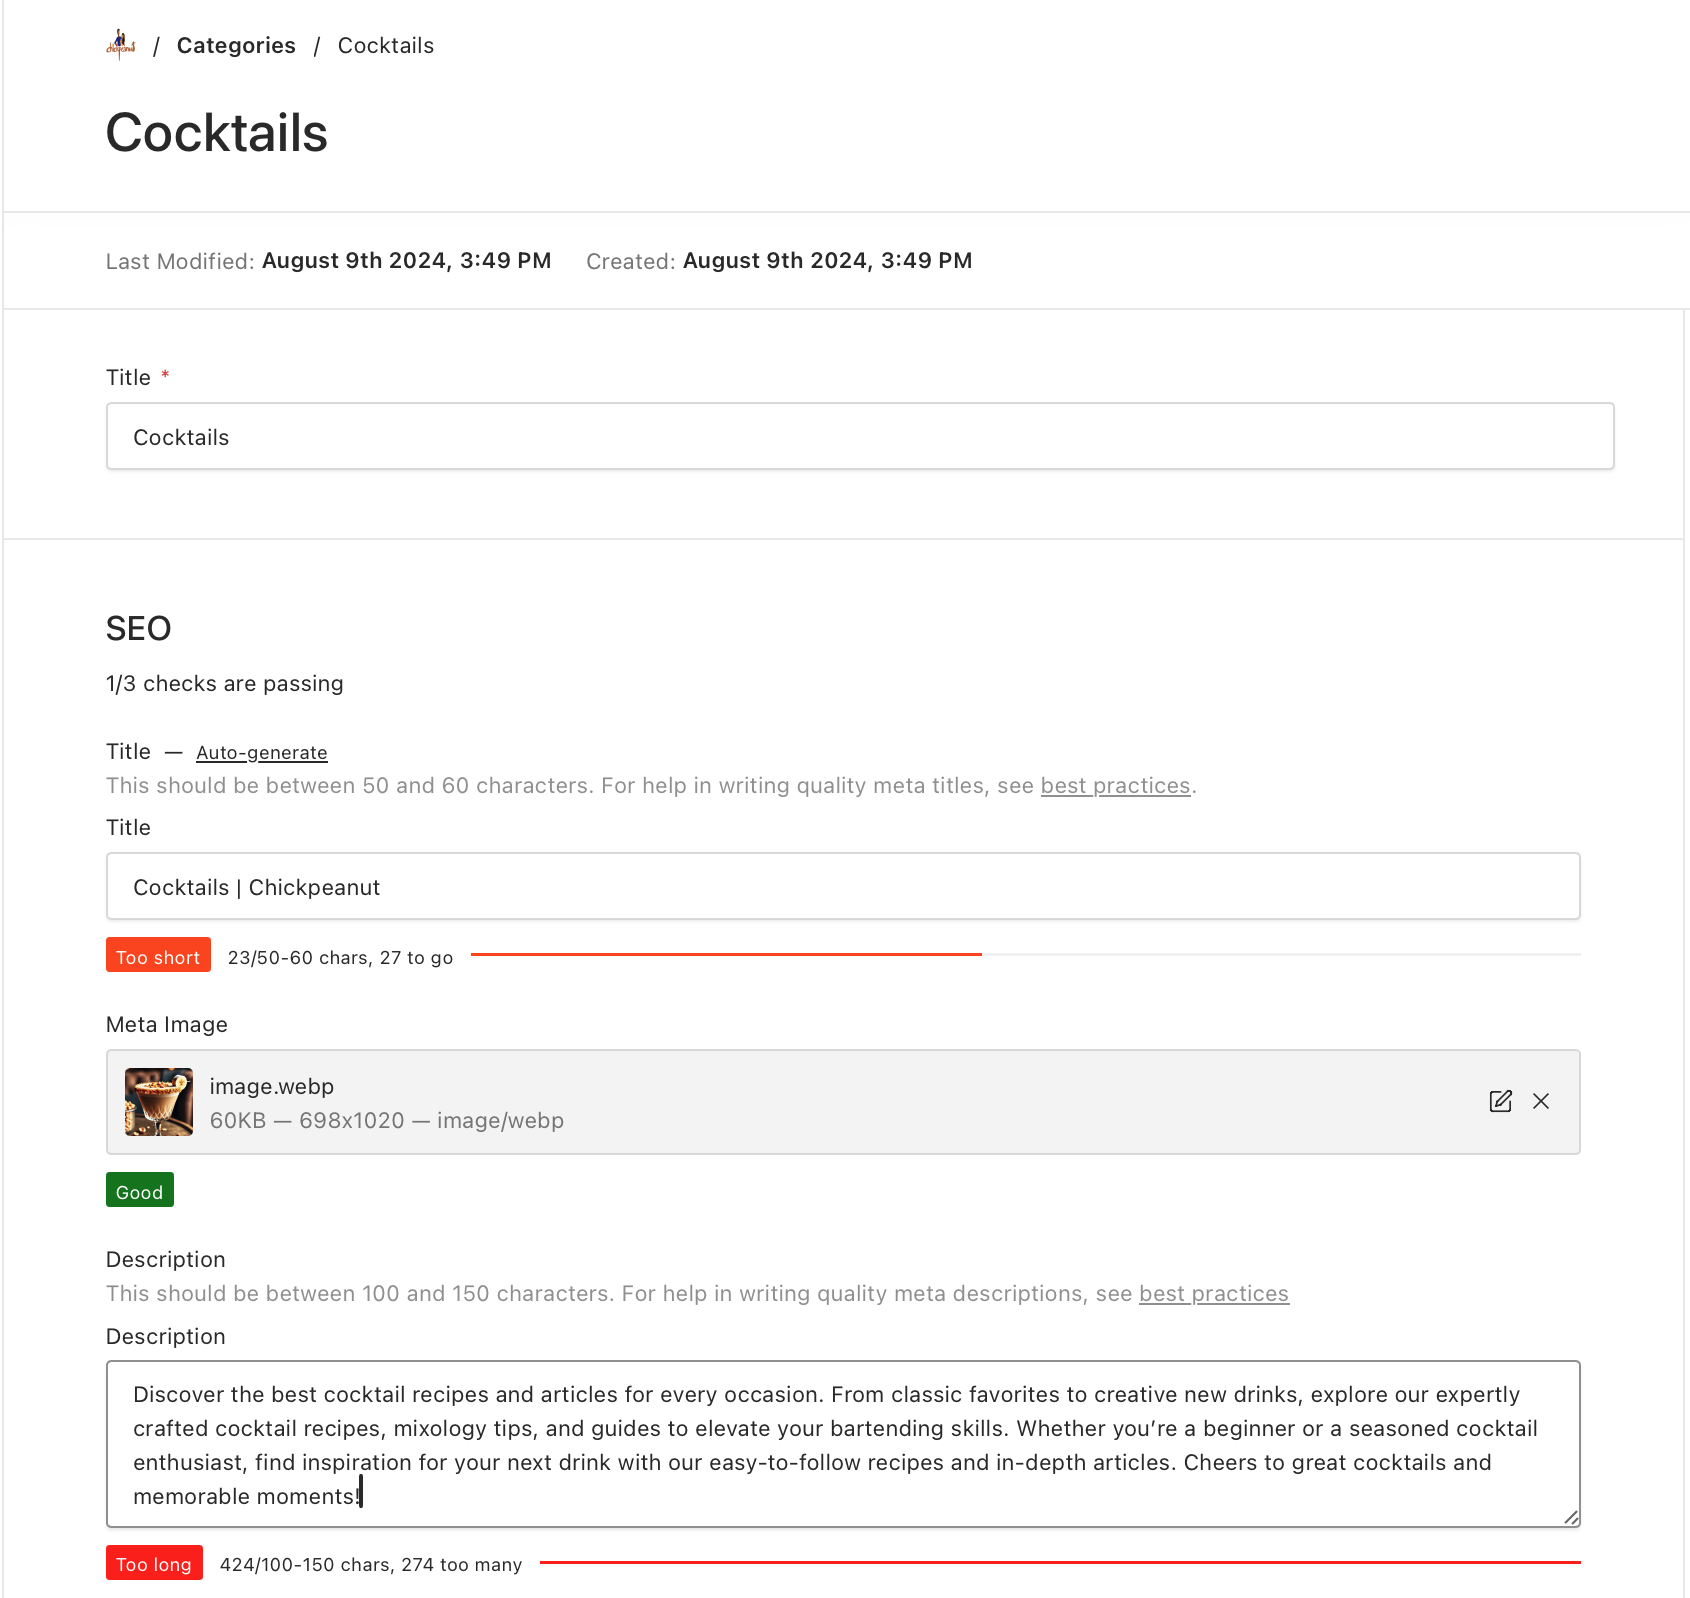
- Enter the Category Title:
- In the Title field, type the name of your new category.
- Choose a name that accurately reflects the content it will contain.
- Add a Description (Optional):
- Provide a brief description of the category to give readers more context.
- Write a concise summary of the category's content.
- Aim for 150-160 characters.
- Provide a brief description of the category to give readers more context.
- Upload a Category Image
- The image will be used on the category card and category page.
- The visual representation of the category on your site.
- Name
Title- Type
- string
- Description
The name of the category as it will appear to your readers.
- Name
Image- Type
- image
- Description
The image used to represent the category on your site.
- Name
Description- Type
- string
- Description
A brief explanation of what content the category includes.
Step 3: Save and Publish the Category
After completing all the fields:
- Review Your Entries:
- Ensure the title, description, image, and SEO fields are accurate.
- Save or Publish:
- Click the Save or Publish button to create your category.
- Assign Content to the Category:
- You can now assign posts and recipes to this category when creating or editing them.
You can edit or delete categories at any time from the Categories section in your dashboard.
Viewing Existing Categories on the Live Site
To view the existing categories on your live site:
- Open your web browser and navigate to your site's URL.
- Add
/categoriesto the end of your site's URL. For example:https://yourblog.com/categories
This will take you directly to the categories page, where you can see all existing categories and their associated content.
Bookmark this URL for quick access to your categories in the future. This can be helpful for monitoring how your categories are displayed to your audience.
If you have any questions or need assistance, please visit our Help Center or contact our support team.